Setting Up a Movie Download Blog
This is a complete, concrete walkthrough for monetizing a movie download blog with Auto Convert Link. The goal: every outbound download link on your blog is automatically routed through your WP Safelink Pro countdown pages so you earn AdSense from every click — with zero per-link work for you or your authors.
The setup at a glance
You run two WordPress sites. Your movie blog (the content site) hosts your posts and the Auto Convert Link plugin. Your WP Safelink Pro site hosts the monetized countdown pages and your AdSense. Auto Convert Link rewrites your blog’s download links to bounce visitors over to the Pro site.
Step-by-step
- Prepare your WP Safelink Pro site. Install, license, and configure WP Safelink Pro — set your countdown timer, templates, and AdSense ad slots. See Installation and the Setup Wizard.
- Copy the Integration Key. On the Pro site, go to WP Admin → WP Safelink → Integration tab and copy the key (
XXX-XXXX…). - Install Auto Convert Link on the movie blog. Upload and activate the plugin, then open WP Safelink Extension (Auto Convert Link).
- Validate. Paste the Integration Key into Step 1 and click Validate Integration Key. Step 2 unlocks. (Details: Installing Auto Convert Link.)
- Enable conversion. In Step 2, leave the Auto Convert Link toggle ON.
- Pick Exclude mode. For a download blog, keep the default Exclude method — you want every external link monetized, and your own site is auto-spared.
- Build your exclude list. Add domains you do NOT want wrapped (your Pro domain, CDN, trailers, social), one per line.
- Save Changes. Done — authors keep posting normal download links and readers now flow through the monetized countdown.
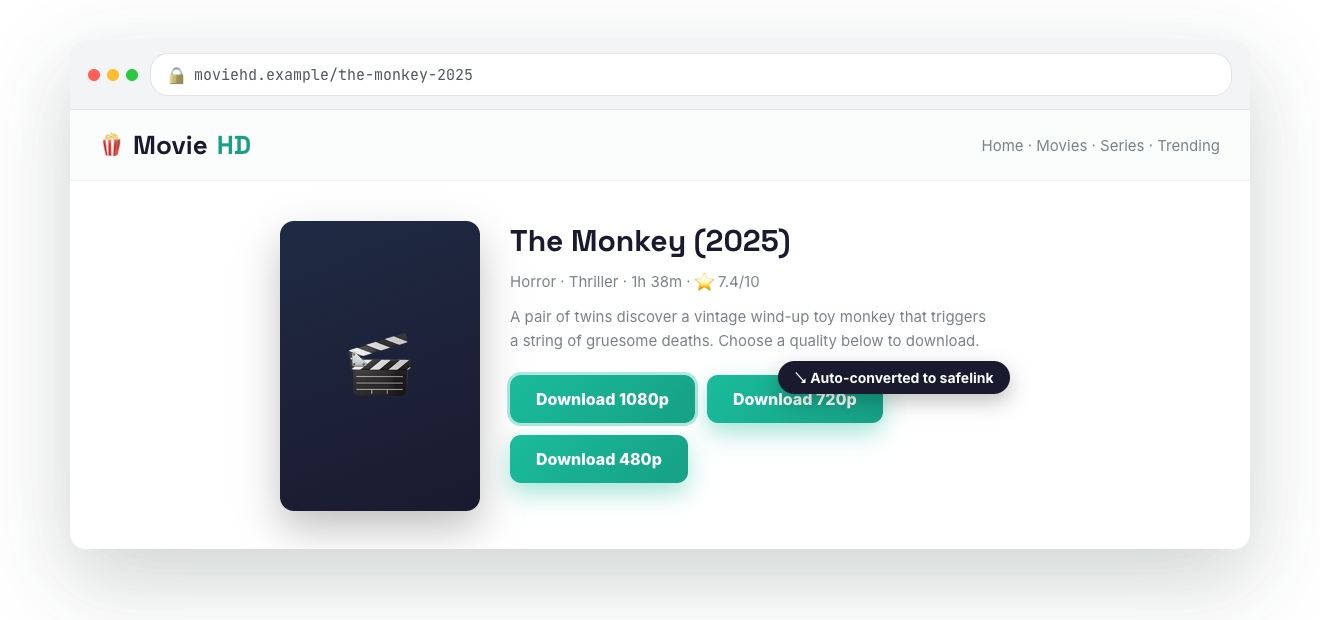
What it looks like
Recommended exclude list for a movie blog
your-safelink.com      # your WP Safelink Pro domain (don't double-wrap)
cdn.your-blog.com      # your own CDN / image / poster host
youtube.com            # trailers you link, not downloads
facebook.com
twitter.com
Everything else — the actual movie and file download hosts — gets converted automatically.
If your blog has lots of non-download links
If your movie blog mixes in many editorial, review, or affiliate links, switch to Include mode instead and list only your file hosts (for example mediafire.com, mega.nz, drive.google.com). Then only those specific download links are converted and the rest of the page is left completely alone. See Include vs Exclude Mode for the trade-offs.
Verify it is working
- Open a post on your movie blog and view the page source.
- Confirm your download
hrefs now look likehttps://your-blog.com/?safelink=<blob>— a same-site link. - Click one and confirm it bounces to your WP Safelink Pro site (
?wpsafelink=<encrypted>) and shows the countdown page.
💡 Note: Auto Convert Link converts links at render time using output buffering. If you run a full-page cache or an aggressive HTML minifier, test it after caching is warm — cached pages will keep whichever safelinks were generated when the page was first built, which is fine for redirection but worth confirming. To boost revenue further, pair this with PRO features on your WP Safelink Pro site like Multiple Pages and Google Redirect.
Was this article helpful?